Plastering around fireplace

Plastering around fireplace

|

|
Dear Plastering Guru,
Thanks for the guide reminders - had a bash at the nursery last night and very pleased to report that I now have two smooth, reskimmed walls which passed the critical test provided by the wife with flying colours. The odd blemish here and there, and some rescue measures required halfway through, but got there in the end.
Can I ask your advice on the picture? - As of yesterday I am now the proud owner of two big holes in a wall. We're going to leave the fireplace insert as bare brick, brushed back and repointed, but what do you suggest for the replacement of the front coat? Should I do a bonding coat for the thickness of the existing plaster, and then re-skim over the whole thing? Or treat as a patch? If I take the first path, do i re-skim just the from of the chimney breast and use the existing corner as my bead, or re-bead it and do the sides of the chimney too? Finally, how would you form the edge of the fireplace, and slight arch above? Stop bead, or a baton/plywood jig to plaster up against (lined up with the existing plasterwork?
Many thanks,
E
Answer
That's good to hear you passed the test - well done!
As you say I would do a bonding coat for the thickness of existing plaster and then re-skim the whole lot. If the sides are okay then you could try rounding/feathering into the existing corner, but if unsure then it may be easier to use a skim bead.
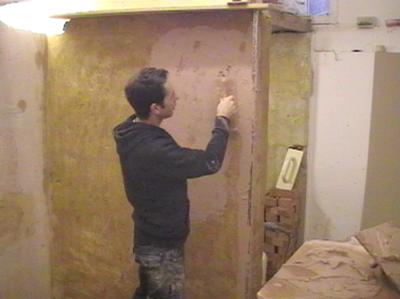
If you use a bead remember the plaster will often be a bit thicker on these edges so when fixing the bead ensure it is as tight to the wall as possible. Starting a couple of inches in running some plaster to pack out to the bead can help with the final finish. See attached picture or go to: https://www.diyplastering.co.uk/video.html then scroll down to find video titled Skim Bead. With the fireplace opening edge - either a stop bead or temporarily wedge a wooden edge all around the fireplace opening and plaster up to it, and remove when set. This can give a neater edge - just make sure you keep the plaster nice and flat otherwise it will show when the wood is removed.
Good luck!
Paul
Join in and write your own page! It's easy to do. How? Simply click here to return to General Help.