Tadelakt Instructions
|
What is tadelakt?
Tadelakt is - lime render that is:
The oldest alternative to glazed tiles? Tadelakt - hard as stone yet soft as silk |
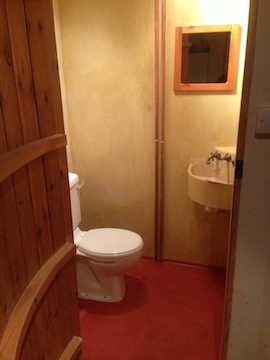
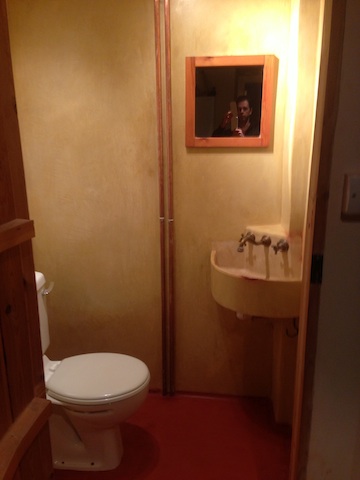
  Avoiding the need for tiles, a tadelakt shower. Avoiding the need for tiles, a tadelakt shower.
|
Tadelakt Instructions
Do we need tadelakt instructions?
The translation of Tadelakt means to: rub in or caress!
Tadelakt instructions
Tadelakt though by definition is a process that you go through to make the surface waterproof - troweling the lime plaster smooth and then polishing with a stone and olive oil soap. The olive oil soap combines with the lime to make a waterproof surface.
How this process is carried out can vary but the fundamental priciples are to:
- Ensure there is a proper key to ensure the lime will adhere to the background
- Control the suction to ensure adherance and avoid excessive drying
- Use adequate aggregate to help minimise shrinkage, but not too much that strength is compromised
- tighten in and consolidate during the hardening process
- further compress and burnish with olive oil soap to provide a hydrophobic surface
- get all these right and you will have a surface that is impermeable to water - but not air
As with all lime plasters it can better to gain an understanding of the
materials being used and know what will be most suitable or
practical for the particular project. Once the principles are understood and the lime can be 'read' then the challenge of tadelakt can begin. But once you understand it, tadelakt can become a game that you get better at the more you play it!
Tadelakt Bath

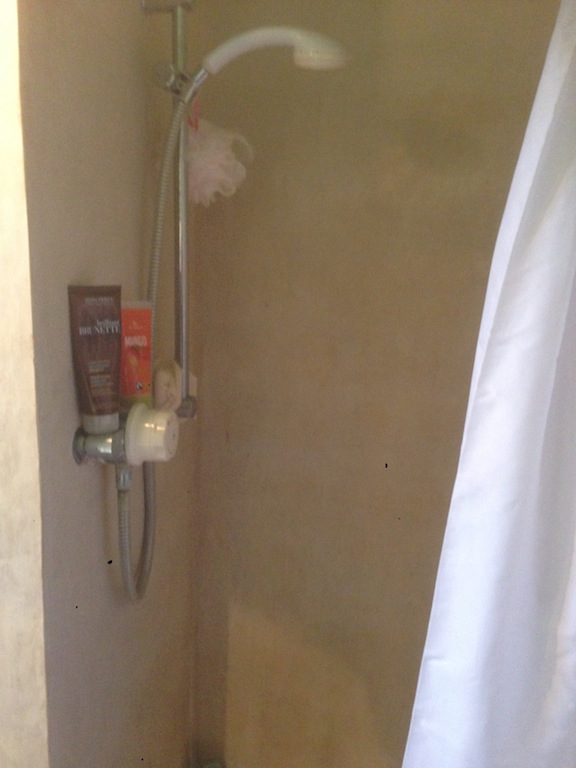
Tadelakt Shower

History of Lime finishes in gerneral
Sometimes
an aggregate was used in top finish coats sometimes not. Sometimes hair
was used - some will say it was never used in top coats but restoration
work on historic buildings unveils a building trade using methods in the
past that varied widely from area to area. There were no national
builders merchants providing the same materials in Scotland and Cornwall
as there is today - builders and plasterer's used what was available in
their local area, with methods suited to these materials.
The
many different methods that all work can be in part attributed to the
fact that Lime cannot be compared to the standardised gypsum plaster or
cement of today; there are different types and strengths of lime and
therefore many variables before you even begin to consider the drying /
setting time issues that lime can present.
If we just want to follow instructions then perhaps the standardised and predictable cement & gypsum plaster would be best!
If you want a challenge then tadelakt!
Return to Home from Tadelakt Instructions
Before & After Tadelakt Photo's

A variety of backgrounds

Tadelakt being applied

Tadelakt floated ready for burnishing

Red Ochre pigment used for floor